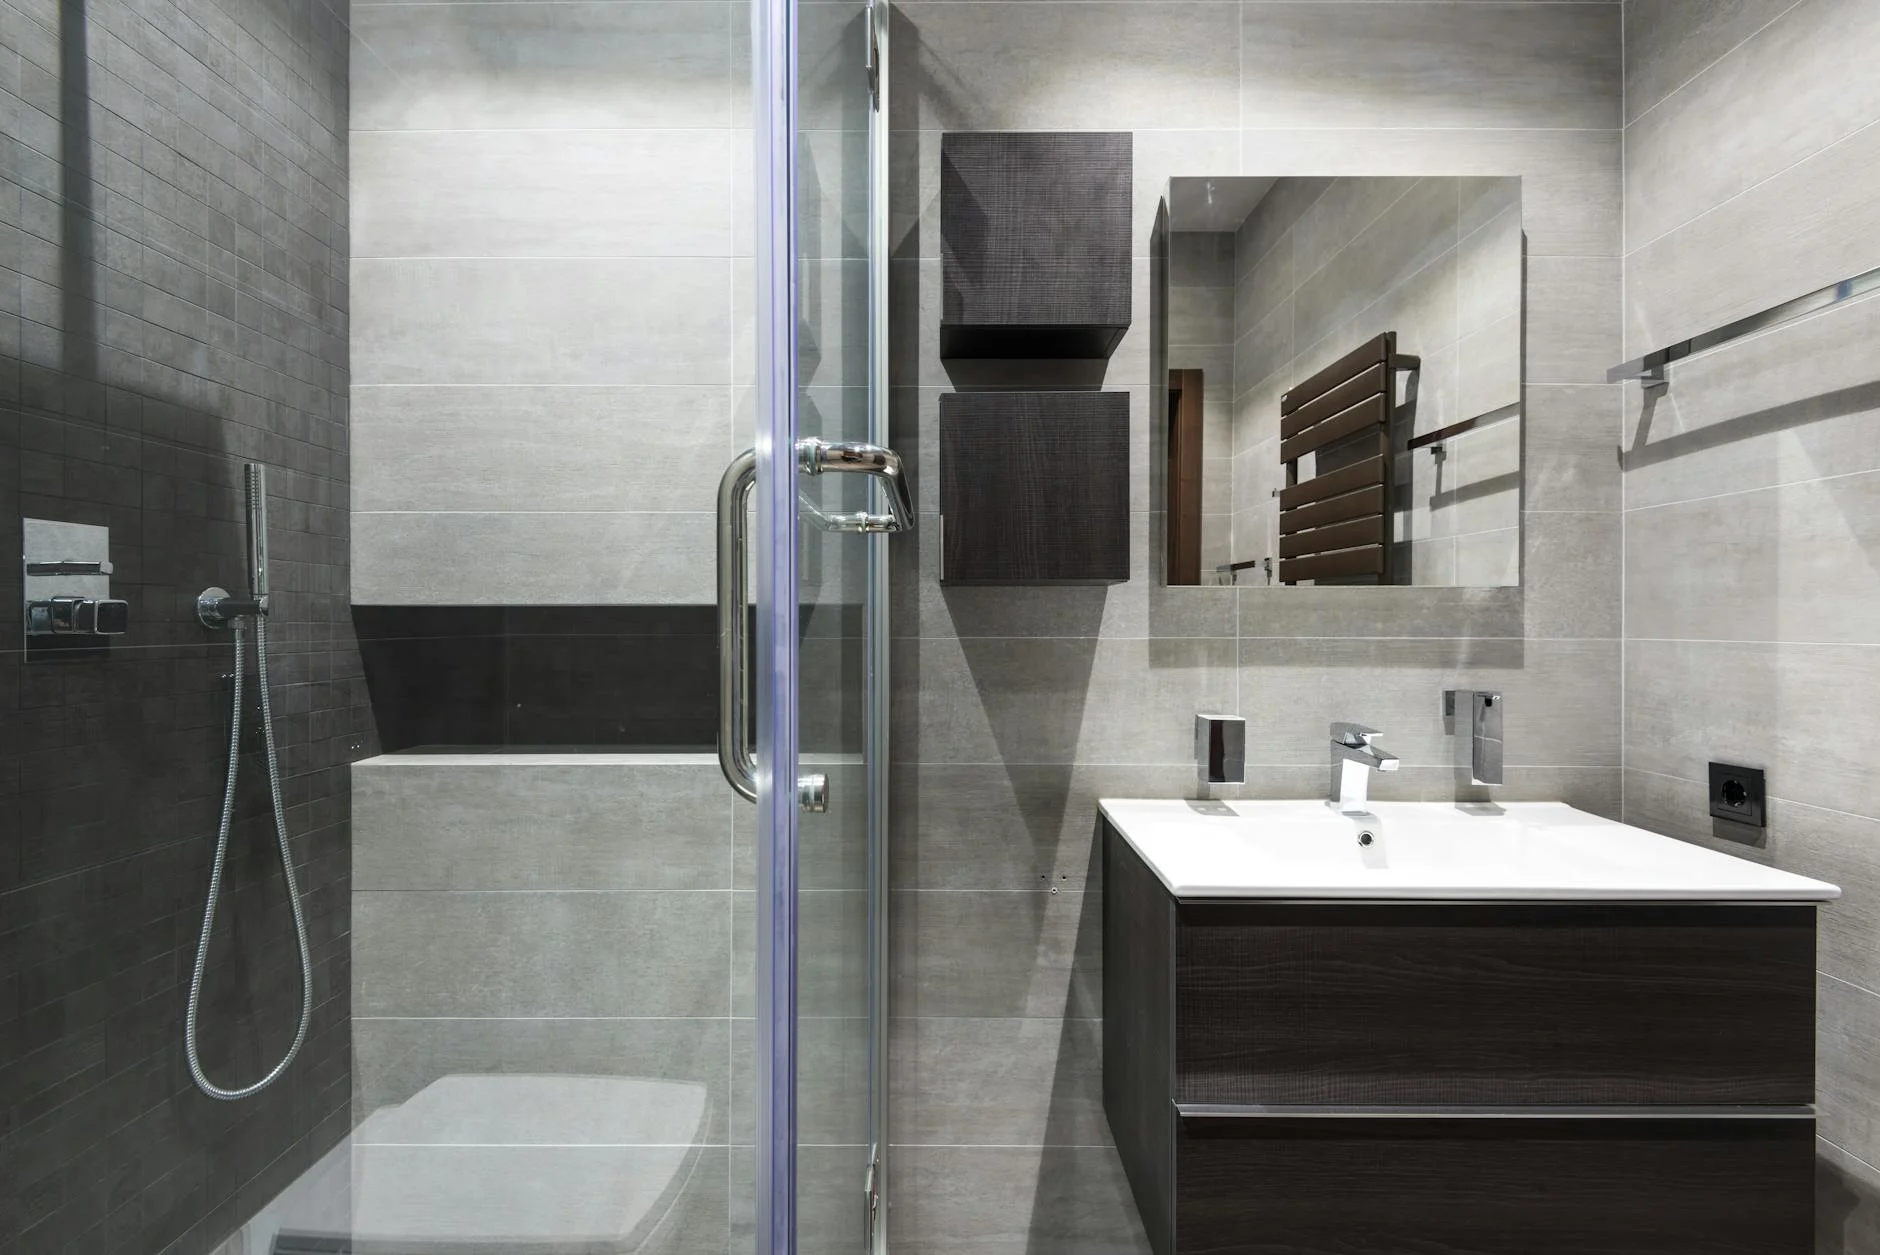
Curbless Showers ? Want a clean, open shower you can walk into without a step? A walk-in shower with a linear drain offers modern design styles that look sleek, feel safer for accessibility, and are easy to keep tidy. Unlike installing a standard bathtub or upgrading to a freestanding tub, this high-end bathroom renovation project creates a seamless, barrier-free space. Here are the essential steps in the remodel process to nail the basics, fast. You’ll learn simple rules for drain size and placement, the right floor slope, and waterproofing that holds up for years. Use these tips to plan a durable shower that works every day.
A linear drain lets the floor pitch in one direction, which keeps the main bath floor flush and easy to cross. This curbless design also makes it easier to optimize storage space alongside the vanity and coordinate with custom cabinetry. Pick a length that captures water quickly, then place it where it controls splash. A longer grate pairs well with large-format tile, since grout is minimized and the surface looks clean. Stainless grates hold up and keep maintenance simple.
Put the drain where water hits first, or where it can act like a shallow “gutter” at the entry. Keep the top of the grate level with the bathroom tile for smooth rolling and walking with full accessibility. When the drain is sized and placed well, the floor dries faster and stays safer.
Your drain and plumbing must match your water output from shower fixtures. A typical outlet is 2 inches. Add up the gallons per minute from all fixtures, such as a rain shower head and a standard shower head plus body sprays, then compare to the drain’s rated flow while considering the home’s water heater capacity. Use two linear drains for very large showers or heavy spray packages to prevent pooling.
Unlike older bathtub and shower combinations, a curbless shower works best with a single pitch toward the linear drain. One direction, no dips. This keeps water moving and the main floor dry. Think of it like a gentle ramp that leads water to a safe edge.
Pre-sloped pans and careful prep make this quick to build, and easy to tile.
Use about 1/4 inch per foot toward the drain. Avoid low spots or any back pitch. One-way slopes are simpler than four-way center drains and work great with large-format tile, or high-end stone as an alternative.
This step can add complexity during a major bathroom renovation, so plan your layout carefully. Two approaches work:
Use pre-sloped foam pans or screeded mortar beds from various materials for accuracy. Check framing limits and local code before you cut or add height, and consult an electrician if installing heated flooring.
Longevity comes from a continuous waterproof layer that ties right into the drain, essential for high-moisture environments like a steam room. Keep it simple, follow the sequence, and verify with a test before proceeding.
Pick either a sheet membrane or a liquid-applied membrane. Use a bonding-flange linear drain or a matching adapter kit. Foam shower pans and drainage mats can speed installs and help the assembly dry between uses.
Overlap seams as instructed. Use preformed corners, Schluter trim, and reinforce changes of plane. Tie the membrane into the drain flange so water cannot sneak around the edges.
Do a 24-hour flood test to confirm a watertight pan before setting tile. After install, clean the grate and hair trap so water flows freely. Recheck sealant lines and clean the grout during yearly deep cleans.
The winning trio is simple: a right-sized linear drain in the best spot, a true one-way slope, and careful waterproofing verified by a flood test. Measure twice, follow the manufacturer’s instructions, and call a contractor for the waterproofing if you’re unsure about handling complex details. Consider a design consultation for optimal planning to streamline the remodel process and ensure a smooth bathroom renovation from start to finish. While the technical steps form the foundation, don’t overlook final aesthetic touches like painting to complete the look. This scale of work is far more complex than a simple powder room remodel, but plan it well, build it right, and enjoy a barrier-free shower that works for the long haul.