Snow, ice, and freezing temps are just part of winter in Pennsylvania. But your home doesn’t have to suffer because of it. Getting your home’s exterior ready ahead of time means less stress during storms, better safety for your family, and peace of mind. Prepping for these cold months helps prevent surprise repairs, protects what you’ve worked hard for, and keeps everyone comfortable.
This guide gives you practical steps to shield your property from the most common winter headaches. With these tips, you’ll know exactly what to do before the real cold hits.
Pennsylvania winters are tough on roofs. Heavy snow, ice, and freeze-thaw cycles put even the best shingles to the test. A careful roof check before cold weather rolls in helps you spot hidden damage, prevent costly leaks, and avoid waking up to a slippery disaster outside your door.
Grab a pair of binoculars or climb up safely (if you’re comfortable), and give your roof a once-over. Focus on these trouble signs:
Document what you see, and don’t ignore small issues. Winter will only make them worse.
Some problems look simple but actually hide deeper trouble. If you spot any of the following, put in a call to a trusted roofer:
A professional has the tools and experience to check for hidden damage, handle tricky repairs safely, and give you a full report so you’re not left guessing. Most reputable roofers in Pennsylvania offer detailed winter checkups and know what local roofs battle each season.
Good insulation and venting do more than keep your house warm. They help fight two major winter headaches:
If your attic feels warmer than outdoor air or you see frost/condensation up there, your insulation or venting needs attention. Consider adding more insulation or clearing blocked soffit and ridge vents to let your roof breathe.
You’ll save time and headaches by knowing which issues you can handle right away and when it’s smarter to invest in professional repairs. Here’s a snapshot:
| Issue | Quick Fix | Full Repair Needed |
|---|---|---|
| Missing or loose shingle | Replace single shingle | Large or clustered areas |
| Tiny leak or drip | Roofing sealant/patch | Widespread or repeated leak |
| Small area of loose flashing | Reseal with caulk | Rusted or missing flashing |
| Ice dam starting to form | Gentle removal | Recurring issues; insulation/vent work |
| Water stains inside attic | Spot clean and dry | Source of leak repaired |
If you find yourself repeating quick fixes, that’s a red flag. Investing in solid repairs now can save you from expensive water damage and higher heating bills this winter.
Checking your roof takes just an afternoon but can make all the difference once the snow flies. Stay safe, stay dry, and let your roof go to work for you all season long.
Getting your gutters and downspouts ready for a Pennsylvania winter is more than just a box to check. When these systems back up, you risk water damage, tricky ice dams, and foundation trouble. A few hours of work now keeps melting snow and ice from wrecking your siding, roof, or basement—saving stress and cash in the long run.
When gutters clog with leaves, sticks, or old shingle grit, rain and snowmelt have nowhere to go. Water spills over the sides, soaking siding or pooling near the foundation. In freezing weather, this overflow finds even more ways to cause pain:
In simple terms, clear gutters and well-placed downspouts are your home’s shield against expensive winter surprises.
Cleaning isn’t glamorous but it is straightforward if you have a safe ladder, gloves, and a bit of patience. Here’s a simple checklist to guide you:
Spot any trouble with drainage or downspout connections? Fix these right away, either DIY or with a pro, before water backs up when it snows.
A downspout’s job doesn’t end at ground level. Water should move at least 5 feet away from your home’s foundation. If it pools near the walls, your basement and slab are at risk. There are several ways to extend drainage:
Pro Tip: Use splash blocks or downspout diverters if you’re not ready for extensions. Even simple fixes keep water from seeping right next to your foundation.
Gutter guards keep out most leaves and debris so you spend less time cleaning. This can be a huge help in Pennsylvania, especially if you have lots of trees overhead. However, some cheaper guards clog themselves or let in pine needles and shingle grit. Here’s what to think about:
Even with guards, regular inspections are smart because ice and fine debris can still cause trouble by mid-winter.
Your yard affects how well water drains away, especially during winter thaws. If the ground slopes toward your house, water will find its way inside. You can keep your home safer with a few landscaping tweaks:
A quick check each fall helps you spot and fix problems early, so spring meltwater flows out to the street instead of inside your home.
With heavy leaves in the fall and wind-blown debris in spring, twice-a-year cleaning is the minimum. If tall trees or heavy storms hit your area, you may want to check monthly during late autumn and again right after the spring thaw. Consistent care sets you up for a dry, trouble-free winter—giving you one less thing to worry about as the snow piles up.
Outdoor plumbing faces some of the toughest challenges when Pennsylvania winter hits. Freezing water inside pipes, hose bibs, or outdoor spigots can cause expensive, surprise bursts and tricky leaks. A little attention now makes all the difference. These steps help you dodge freezing pipes, save money, and keep your water lines in top shape.
If you only do one thing for outdoor plumbing before winter, make it this. Water left inside a hose or spigot will freeze and expand, which can crack pipes—even inside the house. Here’s what to do:
Leaving hoses hooked up is a sure way to split a pipe behind your walls, causing headaches you won’t see until spring.
Think of your outdoor spigot like a tiny open window—it’s a weak spot in your home’s armor once temps drop:
If you don’t have a shutoff valve indoors, at least add extra insulation—faucet covers are the next best thing for freeze protection.
Pipes in garages, crawl spaces, or along outside walls are the first to freeze. Don’t leave them vulnerable. Pipe insulation is easy to install and keeps your water lines safe when the cold eats away at the temperature:
Insulation is more than just a warm “jacket” for your plumbing—it’s cheap, effective protection against a frozen mess.
Notice changes early and you could avoid major water disasters. Watch for:
If something feels off, act quickly. Slow water means ice is forming somewhere. A small investment in time can prevent thousands in repairs later.
Organize what you need ahead of time so you’re not scrambling during the first freeze. Consider picking up these basics for winter prep:
| Product | Use | Where to Find |
|---|---|---|
| Foam faucet covers | Insulate outdoor spigots | Hardware / home centers |
| Pipe insulation sleeves | Wrap exposed pipes | Plumbing aisle |
| Heat tape | Extra warmth for high-risk pipes | Home improvement stores |
| Insulating tape | Seal joints on pipes and covers | General or hardware stores |
| Hose bib shutoff valve key | Turn off water to exterior faucets | Plumbing supply |
Winter will find any weak spot in your outdoor fixtures. With these quick steps and smart supplies, you’ll keep water moving and avoid burst pipes, giving you one less cold-weather worry.
A Pennsylvania winter is unpredictable and intense, not just for the roof or plumbing, but for every corner of your yard and exterior. Winter can turn loose patio furniture into dangerous projectiles, crush branches onto cars or power lines, and ruin beautiful landscaping with one night of frost. Tackling key outdoor features early means a safer, tidier yard and a lot less stress when the snow starts flying.

Photo by Following NYC
Outdoor furniture and grills won’t fare well if left out in Pennsylvania’s freeze-thaw swings. Moisture seeps into cushions and frames, then freezing temps split, rust, or crack materials.
If you must leave things outside, group them close together and secure with bungee cords or ties. This makes it harder for strong winds to knock things over.
Anything loosely set on your porch or lawn can become hazardous once winter storms hit.
Slippery walks quickly turn hazardous, so get ahead of the first storm:
Winter storms are tough on branches. Pennsylvania snow is heavy, and even healthy trees can snap if weighed down.
When you trim, use sharp, clean pruners to avoid damaging the plant. For big trees, or limbs near utility lines, call a pro to take care of it safely.
The right mulch acts like a winter blanket, giving your plants a fighting chance against the freeze.
This layer of insulation keeps soil temperatures steadier, locks in moisture, and protects roots from sudden freezes.
Anything made of stone, concrete, or metal faces freeze-thaw wear in Pennsylvania.
Short days and early darkness make safe, reliable lighting more important.
Well-lit paths are safer for everyone and help you see if snow or ice is piling up where it shouldn’t.
A smart routine of stowing, trimming, and shielding now means fewer headaches and risks all winter long. The effort you put in now pays off when you’re watching the snowfall with your feet up, instead of scrambling outside for last-minute repairs.
Even the best-insulated home can lose warmth if cold air sneaks in around the edges. Small drafts at doors, windows, and your garage can quietly sap comfort and drive up your heating bill. Winter in Pennsylvania is fierce, so sealing these entry points goes a long way in keeping your house cozy and energy-efficient.
Feel chilly air near window edges or under doors? Those small leaks have a big impact when the wind whips. Check for:
Sometimes a slow walk around the inside, hand outstretched, will help you catch cool air moving in on breezy days. If you spot spider webs fluttering, that’s a sure sign of air movement.
Even tiny openings act like a straw, pulling heated air out and letting cold air in. When your furnace works overtime, you pay more for less comfort.
Drafts can:
Sealing up gaps keeps heat where it belongs and gives your wallet a break every winter.
Sealing drafts is one of the simplest DIY projects, and you’ll feel the difference right away. Start with these methods:
Caulk is ideal for fixed gaps that don’t need to move, such as where your window frame meets the siding or trim.
Be sure surfaces are dry and clean for the best bond.
Weatherstripping works well for moveable parts, like door edges and window sashes. Choices include:
For garage doors, look for wide rubber seals along the bottom edge. They stop cold air, debris, and critters from getting inside.
Plastic window insulation kits trap a pocket of air against the glass, cutting chill from the panes.
You’ll still get daylight, and the added insulation can make even drafty rooms feel warmer.
Gather what you need before you start and your project moves fast:
| Supply | Where Used |
|---|---|
| Exterior caulk | Fixed cracks, trim |
| Foam weatherstripping | Doors, windows |
| Door sweeps | Entry and garage doors |
| Window insulator kits | Single-pane windows |
| Utility knife/scissors | Trimming materials |
| Tape measure | Fit and sizing |
Most supplies are just a quick trip to your local hardware store. Check each entry point before winter gets serious, and tackle the spots that need it most.
Regularly inspect seals in fall and after any tough storm. Most weatherstripping needs replacing every couple of years, especially on doors that get used every day. Pay attention when you notice an uptick in your heating bills or if rooms start to feel drafty again.
Tightening up these entry points gives you a more comfortable, efficient home when the Pennsylvania chill sets in.
Tackling roof checks, gutter cleaning, outdoor plumbing care, and sealing drafts sets up your home for a safe, stress-free winter in Pennsylvania. These simple steps protect your investment, lower heating costs, and keep your family comfortable no matter how harsh the forecast gets.
A little time now saves big on last-minute emergency calls or expensive repairs later. Start your winterizing checklist before the first frost arrives. Pick up materials or schedule that inspection with a trusted local pro while you still have options.
Take control of your winter prep. You’ll enjoy the coming months knowing your home is ready, your bills will be lower, and you’re leaving nothing to chance. Thanks for reading—share your own winter tips or questions in the comments.
Snow, ice, and freezing temps are just part of winter in Pennsylvania. But your home doesn’t have to suffer because of it. Getting your home’s exterior ready ahead of time means less stress during storms, better safety for your family, and peace of mind. Prepping for these cold months helps prevent surprise repairs, protects what you’ve worked hard for, and keeps everyone comfortable.
This guide gives you practical steps to shield your property from the most common winter headaches. With these tips, you’ll know exactly what to do before the real cold hits.
Pennsylvania winters are tough on roofs. Heavy snow, ice, and freeze-thaw cycles put even the best shingles to the test. A careful roof check before cold weather rolls in helps you spot hidden damage, prevent costly leaks, and avoid waking up to a slippery disaster outside your door.
Grab a pair of binoculars or climb up safely (if you’re comfortable), and give your roof a once-over. Focus on these trouble signs:
Document what you see, and don’t ignore small issues. Winter will only make them worse.
Some problems look simple but actually hide deeper trouble. If you spot any of the following, put in a call to a trusted roofer:
A professional has the tools and experience to check for hidden damage, handle tricky repairs safely, and give you a full report so you’re not left guessing. Most reputable roofers in Pennsylvania offer detailed winter checkups and know what local roofs battle each season.
Good insulation and venting do more than keep your house warm. They help fight two major winter headaches:
If your attic feels warmer than outdoor air or you see frost/condensation up there, your insulation or venting needs attention. Consider adding more insulation or clearing blocked soffit and ridge vents to let your roof breathe.
You’ll save time and headaches by knowing which issues you can handle right away and when it’s smarter to invest in professional repairs. Here’s a snapshot:
| Issue | Quick Fix | Full Repair Needed |
|---|---|---|
| Missing or loose shingle | Replace single shingle | Large or clustered areas |
| Tiny leak or drip | Roofing sealant/patch | Widespread or repeated leak |
| Small area of loose flashing | Reseal with caulk | Rusted or missing flashing |
| Ice dam starting to form | Gentle removal | Recurring issues; insulation/vent work |
| Water stains inside attic | Spot clean and dry | Source of leak repaired |
If you find yourself repeating quick fixes, that’s a red flag. Investing in solid repairs now can save you from expensive water damage and higher heating bills this winter.
Checking your roof takes just an afternoon but can make all the difference once the snow flies. Stay safe, stay dry, and let your roof go to work for you all season long.
Getting your gutters and downspouts ready for a Pennsylvania winter is more than just a box to check. When these systems back up, you risk water damage, tricky ice dams, and foundation trouble. A few hours of work now keeps melting snow and ice from wrecking your siding, roof, or basement—saving stress and cash in the long run.
When gutters clog with leaves, sticks, or old shingle grit, rain and snowmelt have nowhere to go. Water spills over the sides, soaking siding or pooling near the foundation. In freezing weather, this overflow finds even more ways to cause pain:
In simple terms, clear gutters and well-placed downspouts are your home’s shield against expensive winter surprises.
Cleaning isn’t glamorous but it is straightforward if you have a safe ladder, gloves, and a bit of patience. Here’s a simple checklist to guide you:
Spot any trouble with drainage or downspout connections? Fix these right away, either DIY or with a pro, before water backs up when it snows.
A downspout’s job doesn’t end at ground level. Water should move at least 5 feet away from your home’s foundation. If it pools near the walls, your basement and slab are at risk. There are several ways to extend drainage:
Pro Tip: Use splash blocks or downspout diverters if you’re not ready for extensions. Even simple fixes keep water from seeping right next to your foundation.
Gutter guards keep out most leaves and debris so you spend less time cleaning. This can be a huge help in Pennsylvania, especially if you have lots of trees overhead. However, some cheaper guards clog themselves or let in pine needles and shingle grit. Here’s what to think about:
Even with guards, regular inspections are smart because ice and fine debris can still cause trouble by mid-winter.
Your yard affects how well water drains away, especially during winter thaws. If the ground slopes toward your house, water will find its way inside. You can keep your home safer with a few landscaping tweaks:
A quick check each fall helps you spot and fix problems early, so spring meltwater flows out to the street instead of inside your home.
With heavy leaves in the fall and wind-blown debris in spring, twice-a-year cleaning is the minimum. If tall trees or heavy storms hit your area, you may want to check monthly during late autumn and again right after the spring thaw. Consistent care sets you up for a dry, trouble-free winter—giving you one less thing to worry about as the snow piles up.
Outdoor plumbing faces some of the toughest challenges when Pennsylvania winter hits. Freezing water inside pipes, hose bibs, or outdoor spigots can cause expensive, surprise bursts and tricky leaks. A little attention now makes all the difference. These steps help you dodge freezing pipes, save money, and keep your water lines in top shape.
If you only do one thing for outdoor plumbing before winter, make it this. Water left inside a hose or spigot will freeze and expand, which can crack pipes—even inside the house. Here’s what to do:
Leaving hoses hooked up is a sure way to split a pipe behind your walls, causing headaches you won’t see until spring.
Think of your outdoor spigot like a tiny open window—it’s a weak spot in your home’s armor once temps drop:
If you don’t have a shutoff valve indoors, at least add extra insulation—faucet covers are the next best thing for freeze protection.
Pipes in garages, crawl spaces, or along outside walls are the first to freeze. Don’t leave them vulnerable. Pipe insulation is easy to install and keeps your water lines safe when the cold eats away at the temperature:
Insulation is more than just a warm “jacket” for your plumbing—it’s cheap, effective protection against a frozen mess.
Notice changes early and you could avoid major water disasters. Watch for:
If something feels off, act quickly. Slow water means ice is forming somewhere. A small investment in time can prevent thousands in repairs later.
Organize what you need ahead of time so you’re not scrambling during the first freeze. Consider picking up these basics for winter prep:
| Product | Use | Where to Find |
|---|---|---|
| Foam faucet covers | Insulate outdoor spigots | Hardware / home centers |
| Pipe insulation sleeves | Wrap exposed pipes | Plumbing aisle |
| Heat tape | Extra warmth for high-risk pipes | Home improvement stores |
| Insulating tape | Seal joints on pipes and covers | General or hardware stores |
| Hose bib shutoff valve key | Turn off water to exterior faucets | Plumbing supply |
Winter will find any weak spot in your outdoor fixtures. With these quick steps and smart supplies, you’ll keep water moving and avoid burst pipes, giving you one less cold-weather worry.
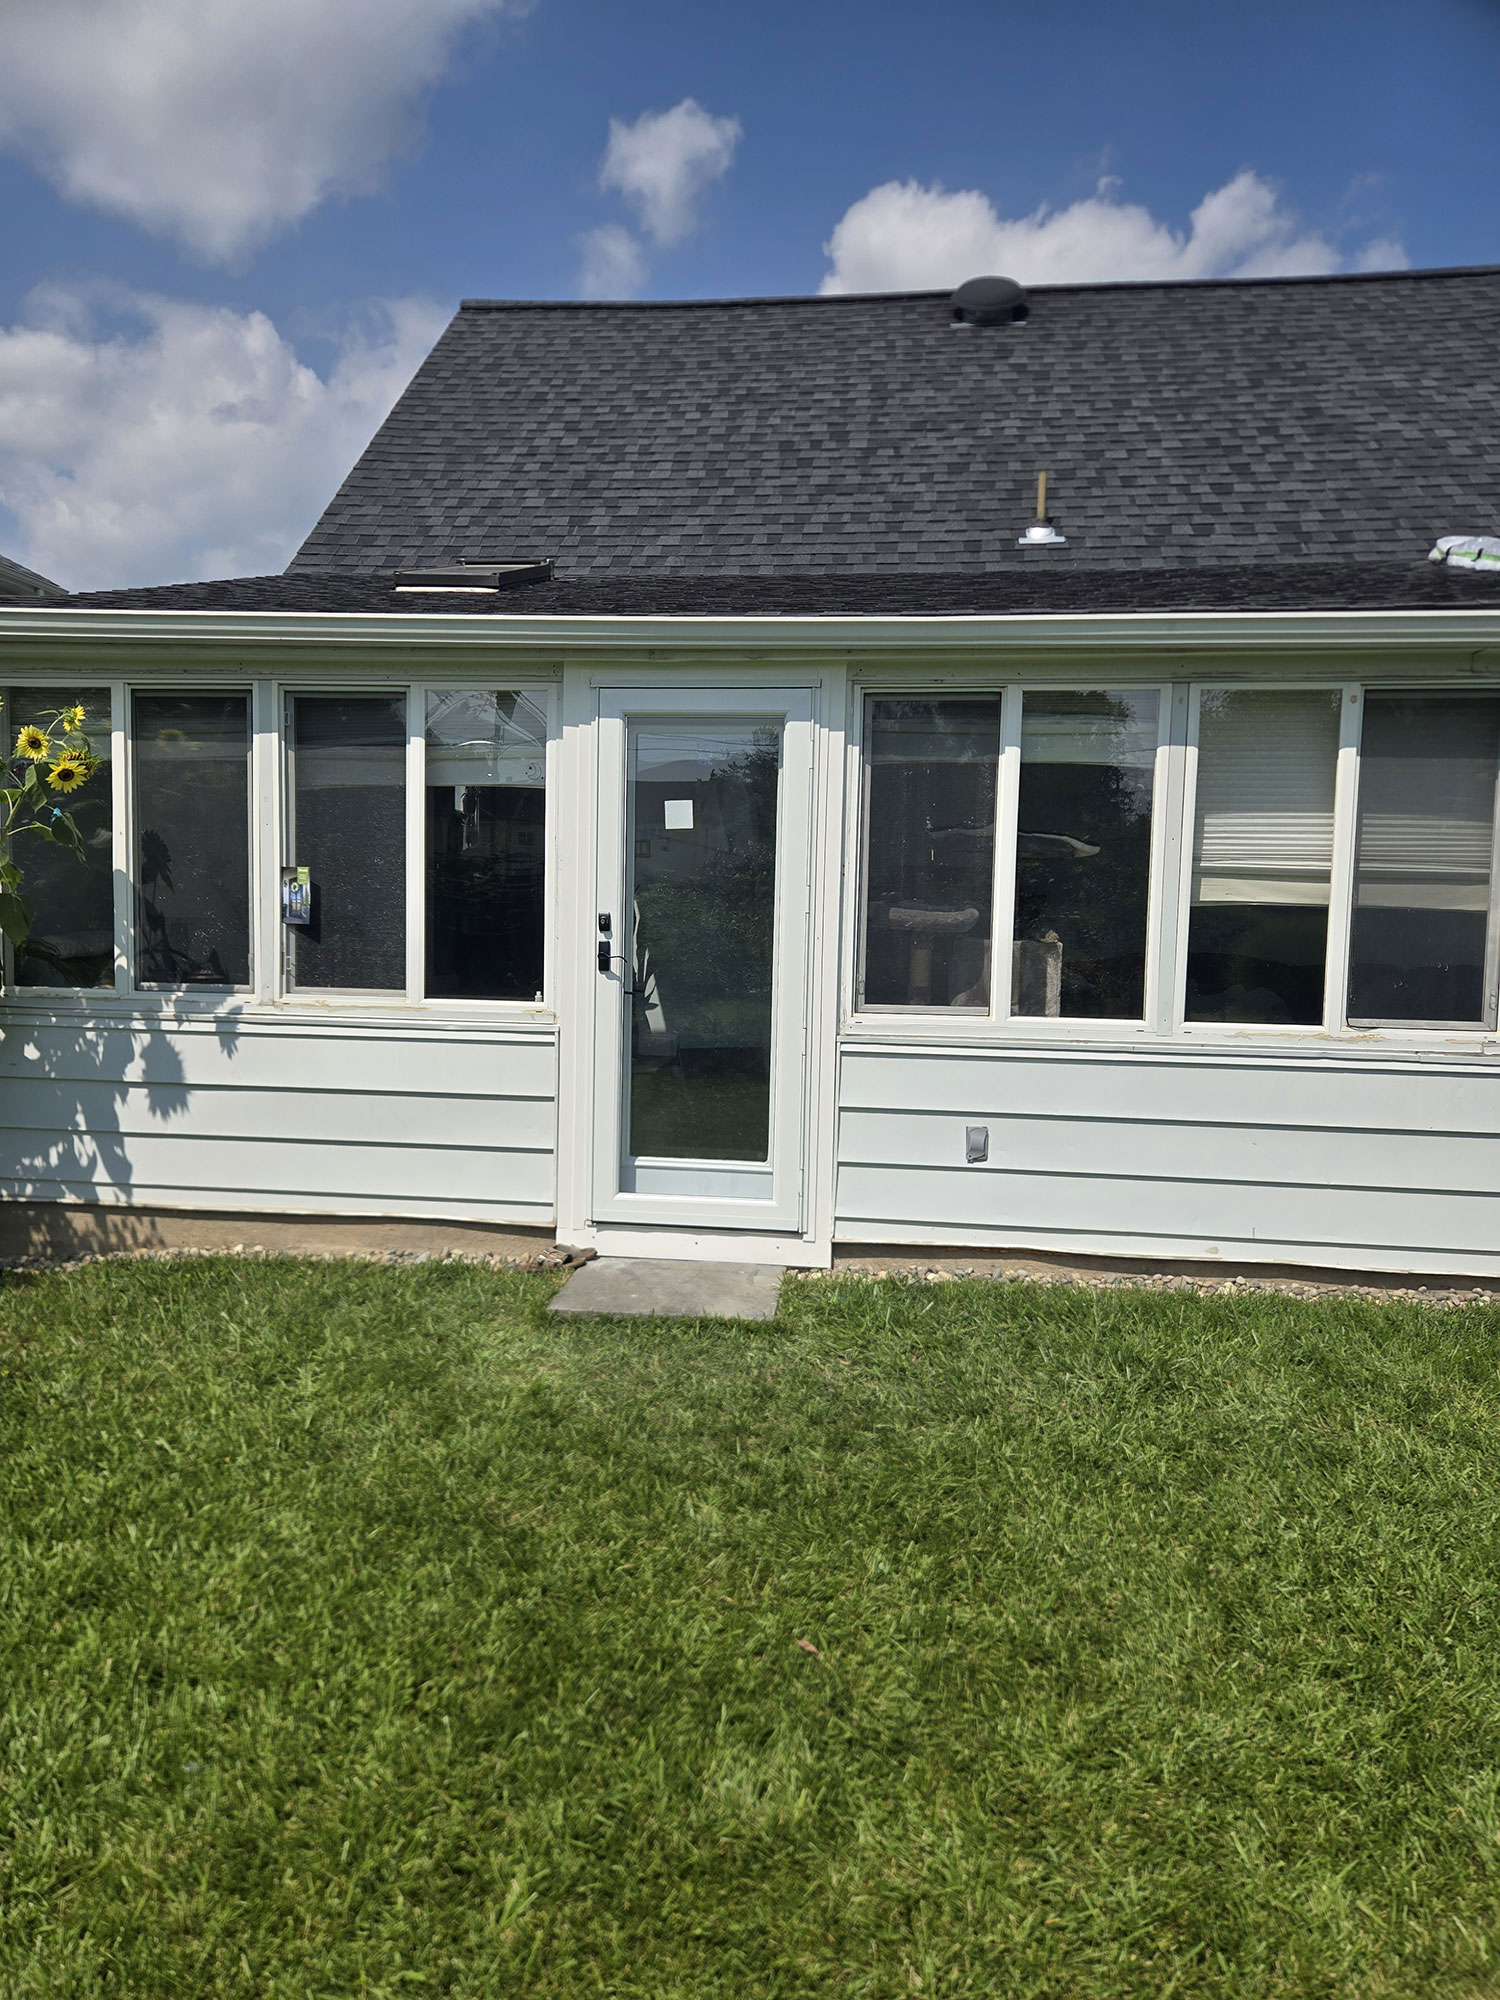
A Pennsylvania winter is unpredictable and intense, not just for the roof or plumbing, but for every corner of your yard and exterior. Winter can turn loose patio furniture into dangerous projectiles, crush branches onto cars or power lines, and ruin beautiful landscaping with one night of frost. Tackling key outdoor features early means a safer, tidier yard and a lot less stress when the snow starts flying.
Photo by Following NYC
Outdoor furniture and grills won’t fare well if left out in Pennsylvania’s freeze-thaw swings. Moisture seeps into cushions and frames, then freezing temps split, rust, or crack materials.
If you must leave things outside, group them close together and secure with bungee cords or ties. This makes it harder for strong winds to knock things over.
Anything loosely set on your porch or lawn can become hazardous once winter storms hit.
Slippery walks quickly turn hazardous, so get ahead of the first storm:
Winter storms are tough on branches. Pennsylvania snow is heavy, and even healthy trees can snap if weighed down.
When you trim, use sharp, clean pruners to avoid damaging the plant. For big trees, or limbs near utility lines, call a pro to take care of it safely.
The right mulch acts like a winter blanket, giving your plants a fighting chance against the freeze.
This layer of insulation keeps soil temperatures steadier, locks in moisture, and protects roots from sudden freezes.
Anything made of stone, concrete, or metal faces freeze-thaw wear in Pennsylvania.
Short days and early darkness make safe, reliable lighting more important.
Well-lit paths are safer for everyone and help you see if snow or ice is piling up where it shouldn’t.
A smart routine of stowing, trimming, and shielding now means fewer headaches and risks all winter long. The effort you put in now pays off when you’re watching the snowfall with your feet up, instead of scrambling outside for last-minute repairs.
Even the best-insulated home can lose warmth if cold air sneaks in around the edges. Small drafts at doors, windows, and your garage can quietly sap comfort and drive up your heating bill. Winter in Pennsylvania is fierce, so sealing these entry points goes a long way in keeping your house cozy and energy-efficient.
Feel chilly air near window edges or under doors? Those small leaks have a big impact when the wind whips. Check for:
Sometimes a slow walk around the inside, hand outstretched, will help you catch cool air moving in on breezy days. If you spot spider webs fluttering, that’s a sure sign of air movement.
Even tiny openings act like a straw, pulling heated air out and letting cold air in. When your furnace works overtime, you pay more for less comfort.
Drafts can:
Sealing up gaps keeps heat where it belongs and gives your wallet a break every winter.
Sealing drafts is one of the simplest DIY projects, and you’ll feel the difference right away. Start with these methods:
Caulk is ideal for fixed gaps that don’t need to move, such as where your window frame meets the siding or trim.
Be sure surfaces are dry and clean for the best bond.
Weatherstripping works well for moveable parts, like door edges and window sashes. Choices include:
For garage doors, look for wide rubber seals along the bottom edge. They stop cold air, debris, and critters from getting inside.
Plastic window insulation kits trap a pocket of air against the glass, cutting chill from the panes.
You’ll still get daylight, and the added insulation can make even drafty rooms feel warmer.
Gather what you need before you start and your project moves fast:
| Supply | Where Used |
|---|---|
| Exterior caulk | Fixed cracks, trim |
| Foam weatherstripping | Doors, windows |
| Door sweeps | Entry and garage doors |
| Window insulator kits | Single-pane windows |
| Utility knife/scissors | Trimming materials |
| Tape measure | Fit and sizing |
Most supplies are just a quick trip to your local hardware store. Check each entry point before winter gets serious, and tackle the spots that need it most.
Regularly inspect seals in fall and after any tough storm. Most weatherstripping needs replacing every couple of years, especially on doors that get used every day. Pay attention when you notice an uptick in your heating bills or if rooms start to feel drafty again.
Tightening up these entry points gives you a more comfortable, efficient home when the Pennsylvania chill sets in.
Tackling roof checks, gutter cleaning, outdoor plumbing care, and sealing drafts sets up your home for a safe, stress-free winter in Pennsylvania. These simple steps protect your investment, lower heating costs, and keep your family comfortable no matter how harsh the forecast gets.
A little time now saves big on last-minute emergency calls or expensive repairs later. Start your winterizing checklist before the first frost arrives. Pick up materials or schedule that inspection with a trusted local pro while you still have options.
Take control of your winter prep. You’ll enjoy the coming months knowing your home is ready, your bills will be lower, and you’re leaving nothing to chance. Thanks for reading—share your own winter tips or questions in the comments.